






| Quick answer
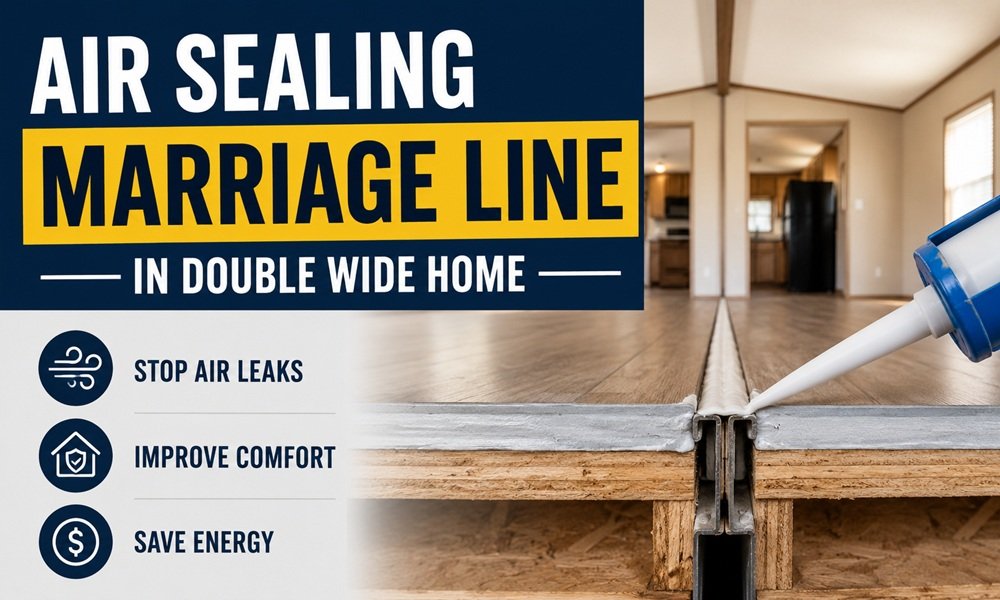
The marriage line is the seam where the two halves of a double-wide join. To air-seal it, pull the bolts or fasteners snug to close the gap, install a continuous gasket (a SOF-Seal type) along the mating surfaces, and seal the joint at the floor, ceiling, and endwalls with foam and tape. Most persistent drafts and moisture in a double-wide trace back to a marriage line that was never properly gasketed or has loosened over time. |
If one room in your double-wide is always colder than the rest, if a long crack of light or a draft runs down the center of the house, or if you see condensation along a center line in the ceiling, the marriage line is almost certainly the culprit. It is the single longest air-leakage path in the home and the one most often done poorly at setup. Sealing it is high-impact, mostly low-cost work — but it has to be done in the right order, because tightening the seam, gasketing it, and sealing the perimeter are three separate jobs that each matter.
What the marriage line is and why it leaks
A double-wide is shipped as two (or more) sections that are bolted together on site along their open sides. That joint — running the full length of the home through the floor, walls, and ceiling — is the marriage line, sometimes called the mate line or centerline. When the sections are drawn together at setup, a gasket is supposed to be compressed between the mating surfaces to seal the seam. In practice, that gasket is frequently missing, undersized, or torn, and the structural ties can loosen as the home settles, leaving a continuous gap from one end of the house to the other.
Because the gap runs the full length of the home and connects the conditioned interior to the belly and attic, it leaks far more air than its width suggests. It also carries moisture: warm, humid indoor air pushed into a cold seam condenses there, which is why marriage-line leaks so often show up first as a damp ceiling stripe, peeling tape on the center ceiling joint, or musty odors down the middle of the house.
Step 1 — Inspect along the full seam
Find the leak before you seal it. On a windy or cold day, the drafts are easy to feel. Work the entire centerline at three levels:
- Floor: check where the two halves meet under flooring transitions and at the belly. A continuous draft here points to a gap in the floor seam or missing belly seal at the centerline.
- Walls and endwalls: the ends of the marriage line, where it meets the exterior endwalls, are notorious leak points. Look for daylight, feel for drafts, and check for staining.
- Ceiling: cracked or peeling tape along the center ceiling joint, or condensation staining, signals air and moisture moving through the seam above.
A smoke pencil or even an incense stick held near the seam on a windy day will show you exactly where air is moving. Mark every active leak so you can address them systematically rather than chasing them one at a time.
Step 2 — Close the seam structurally first
You cannot gasket a gap that is held open. Before sealing, confirm the two halves are properly drawn together:
- Locate the marriage-line bolts or lag connections (commonly along the ridge and the floor rim).
- Check that they are present and snug. Setting crews sometimes skip fasteners or leave them loose.
- Tighten or add structural ties per the manufacturer’s setup instructions so the mating surfaces actually touch.
- If the home has settled unevenly, releveling the affected pier may be needed before the seam will close — a draft that returns every time you seal it often means a leveling problem underneath.
Step 3 — Gasket and seal the joint
With the seam closed, seal it as a continuous system rather than a series of patches:
- Install a continuous compressible gasket (a SOF-Seal type closed-cell gasket is the standard) along the mating surfaces so the two halves seal against it.
- At the floor, seal the centerline joint and the belly seam at the centerline with sealant and belly tape so the gap to the crawl space is closed.
- At the ceiling, re-tape and seal the center joint; address any condensation staining by improving the seal rather than just painting over it.
- At the endwalls, foam and seal the ends of the marriage line where it meets the exterior walls — these corners leak the most and are easiest to miss.
The detail most people miss
Unique insight: sealing the marriage line is as much a moisture project as an air project, and the order matters. If you seal the interior side tightly but leave the belly seam at the centerline open, you can actually trap warm indoor air in the seam where it meets cold outdoor air and make condensation worse. Seal the full path — interior, structure, and belly — so there is no cold pocket inside the assembly for moisture to collect in. A marriage line sealed only on the visible interior side is the classic cause of a damp center ceiling that keeps coming back every winter.
Marriage-line sealing checklist
- Bolts and structural ties present, snug, and per the setup manual.
- Continuous gasket compressed between the mating surfaces along the full seam.
- Floor centerline joint sealed; belly seam at centerline taped closed.
- Ceiling center joint re-taped and sealed; no remaining condensation staining.
- Endwall terminations foamed and sealed at both ends.
- Re-checked on a windy day with a smoke pencil to confirm no remaining draft.
What it costs
Marriage-line sealing is one of the cheapest high-impact upgrades on a double-wide:
- DIY materials (gasket, sealant, foam, belly tape): roughly $100–$350 depending on home length.
- Professional air-sealing of the seam: commonly $400–$1,200 depending on access and whether releveling is needed.
- Releveling (if the seam will not close): a separate job, often $500–$1,500, but it fixes the root cause of a recurring gap.
Frequently asked questions
| How do I know if my marriage line is the problem?
Tell-tale signs are a draft or cold stripe running down the center of the home, peeling tape or condensation along the center ceiling joint, and one half of the house being noticeably colder. A smoke pencil along the seam on a windy day confirms it quickly. What gasket should go in a marriage line? A continuous closed-cell compressible gasket (commonly a SOF-Seal type) is the standard. It is compressed between the mating surfaces as the halves are drawn together, sealing the full length of the seam rather than relying on caulk alone. Can I seal it from inside without going under the home? You can improve the interior joints, but a complete seal needs the belly centerline addressed too. Sealing only the interior can trap moisture in the seam, so plan to seal the floor and belly path as well as the visible joints. Why does my center ceiling keep getting damp? Warm, humid indoor air is reaching the cold seam and condensing. The fix is sealing the full air path so that moist air never reaches the cold zone — not just repainting or re-taping the stain, which returns every winter until the leak is closed. Does releveling really matter for air sealing? Yes. If the home has settled unevenly, the two halves can be held apart no matter how much gasket you add. Releveling the affected piers lets the mating surfaces touch so the gasket and sealant can actually work. |